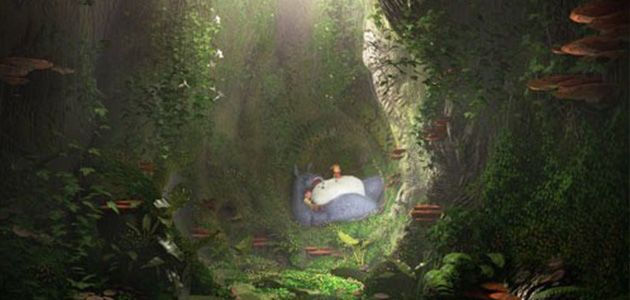
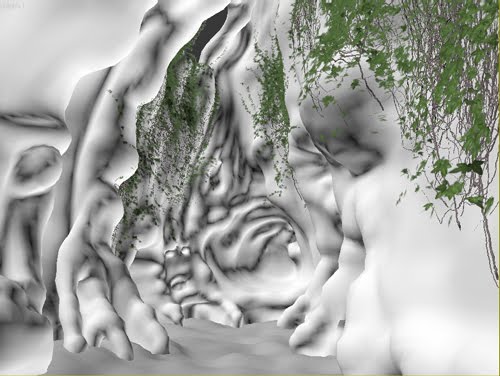
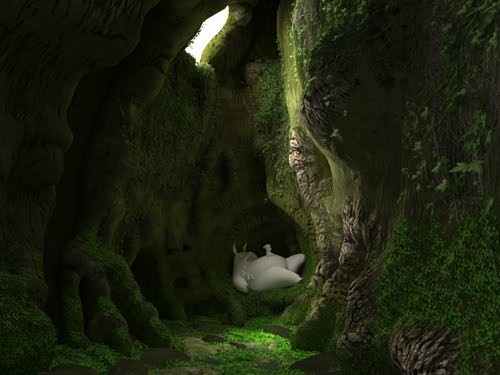
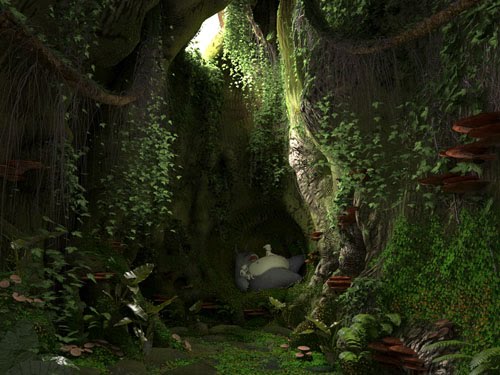
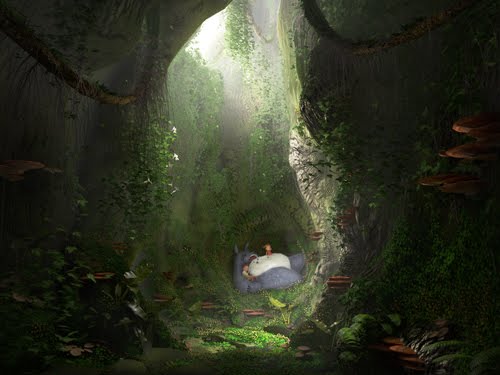
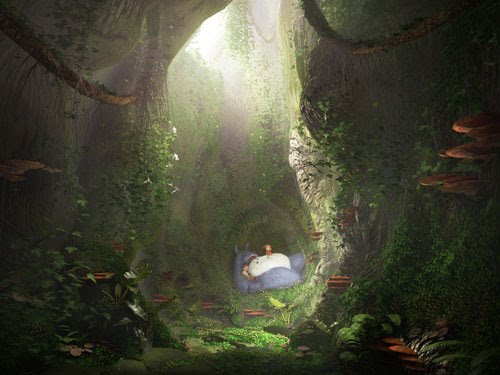
Hi! We have created another version of our Lazy Afternoon 3d image. And this is our tutorial for the process. It is still a sleepy, lazy afternoon and the guys are hanging around inside the tree cave. Moss, clovers, mushroom and all kinds of plants grow inside the cave adding to the mist, but still cozy, environment inside.
2. Creating the Environment
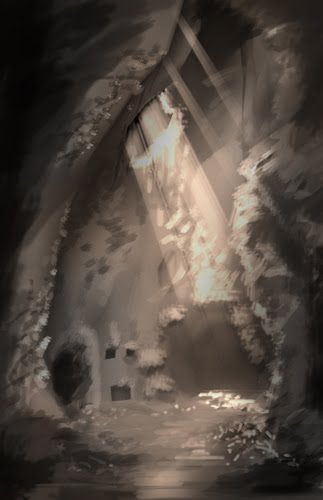
Before I jump in to 3d production, I come up first with a quick painting of the scene I want to create.
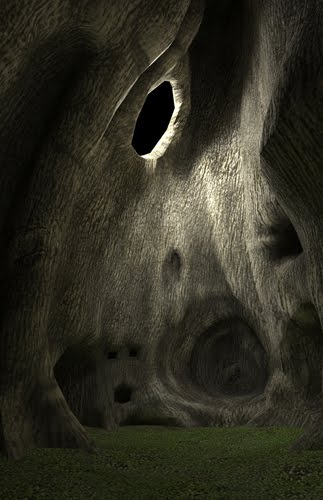
Next step is to create the tree cave, cave floor, lighting and camera angle in 3ds Max. I haven't work on the details at this time.
I took the draft rendering in 3ds max and paint it over in Photoshop for further composition study. In Composition, I usually work first in black and white to make the process quicker. Once I am satisfied with the adjustments in Photoshop, I can now commit myself to work it on 3d. This image will be my target layout.
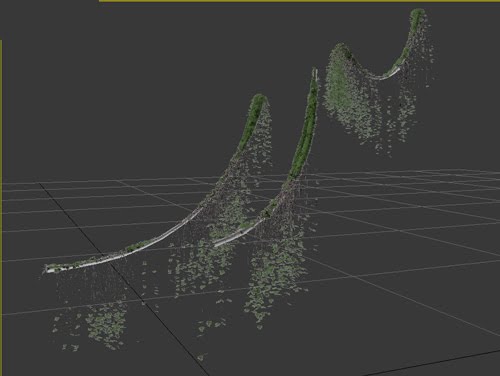
In 3ds max, I use the Guruware Ivy plugin to help me generate or create the ivy on the scene. These set of Ivies were made to creep on inside tree cave's wall. The plugin is free to use. For more information of this plugin, please visit http://www.guruware.at/main/
Another set of ivy plants were made to hang inside the tree cave.
I decided to add hanging roots inside the tree cave to fill up some blank space. And then another set of ivy plants were made to creep and hang from the roots.
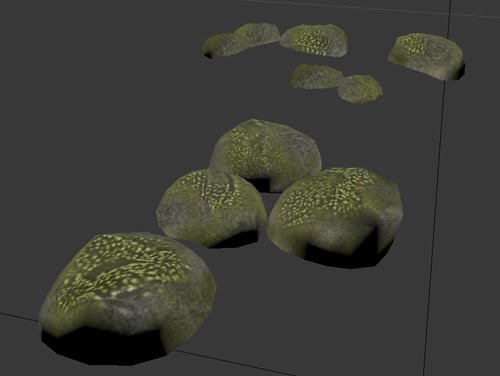
These rocks were modeled in 3ds max and I exported them to Zbrush for texturing.
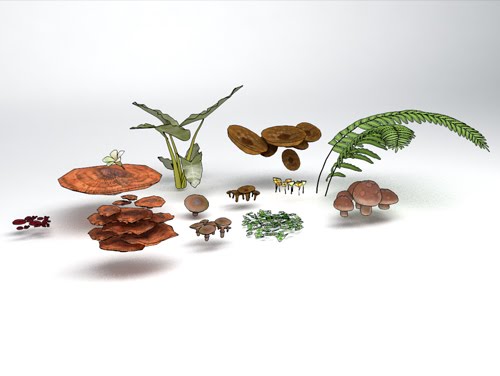
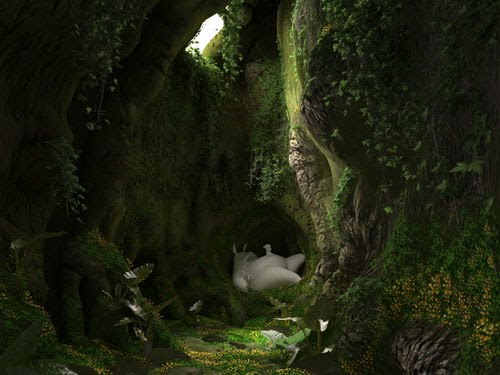
I prepared some objects that can be found inside the tree cave like taro plants, ferns, mushrooms, clover plants and clover flowers. I am going to distribute these objects in the scene using Advanced Painter tool.
This tool is also free to use and you can find it at http://www.scriptspot.com/3ds-max/scripts/advanced-painter.
Using Advanced Painter tool, I scattered the clover plants in the area where they are most likely to grow.
Next, I scattered the clover flower.
After scattering all the objects, I rotated and scaled them to give random and natural look. I also scaled down the the objects that are away from the camera to show the distance more obviously to the viewer, but make sure it is not overdone.
2. Modeling and Texture
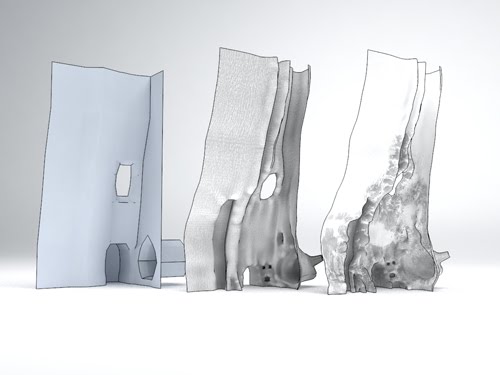
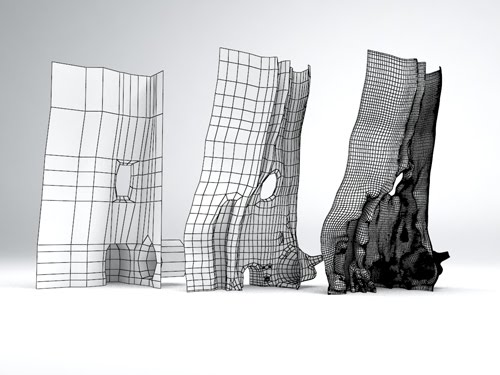
For modeling and texture, I am going to use the left part of tree cave as an example. I started modeling it in 3ds Max. The model in between was the one I exported to Zbrush from 3ds Max to use for details, unwrap UVW and texturing. The 3rd model was imported from Zbrush to Max at 2nd level subdivision. I imported it on the second level subdivision so I can retain some of the deformations I did in Zbrush.
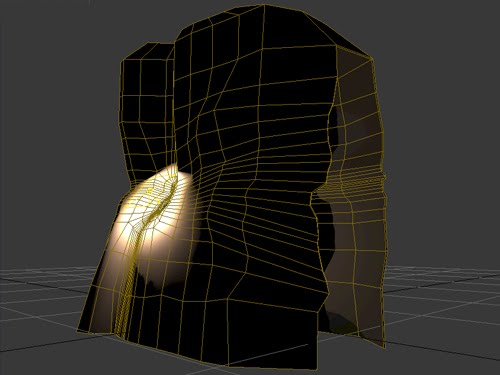
Here are the wire frames.
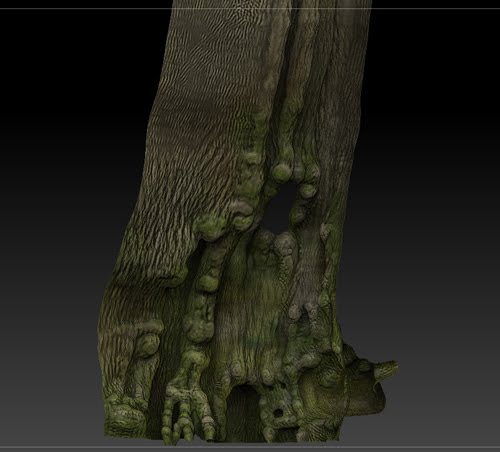
Here is the screenshot of the tree cave in Zbrush.
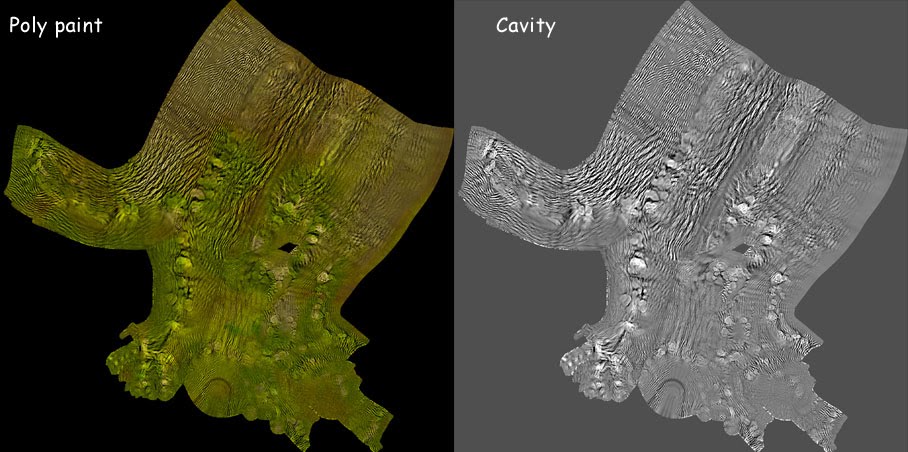
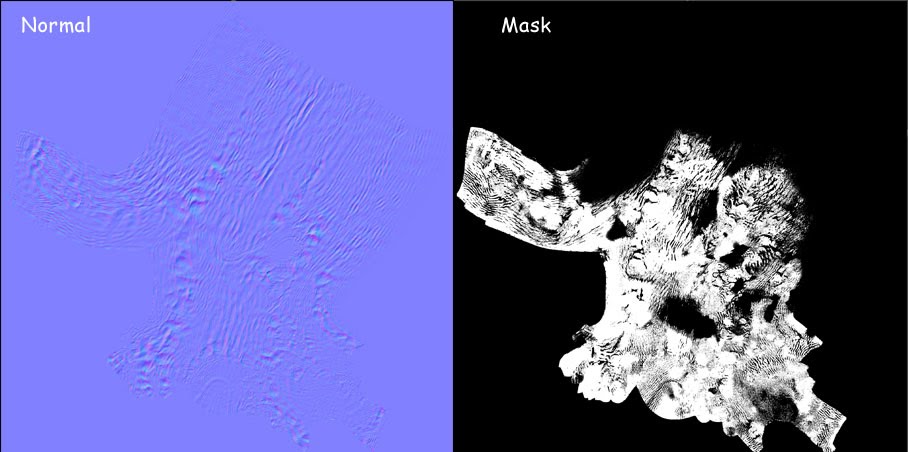
I do all the detailing in Zbrush - sculpting, unwrap UVW and texturing. All these detail information are exported as image to be used in 3ds Max as material/shader. I also use Photoshop to further enhance the textures.
The Mask texture was made out of poly paint and cavity textures in Photoshop. This texture is used to mask the moss part of the tree cave.
This process is similar in creating the rocks, mushrooms, plants...
3. Character Modeling
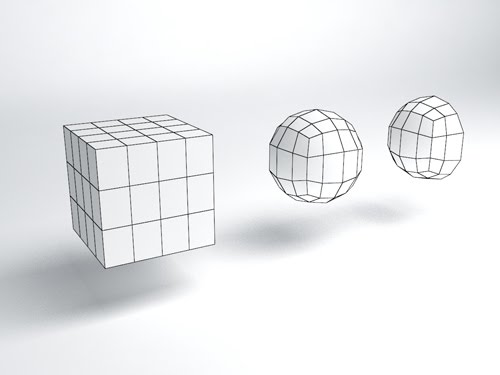
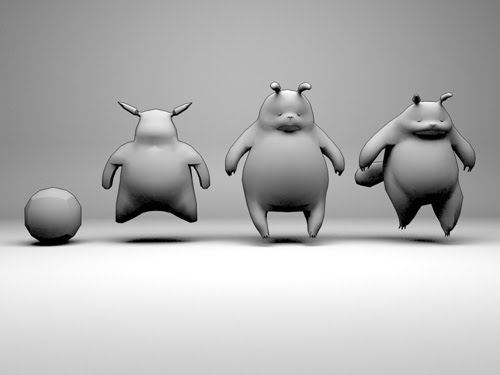
In character modeling, I always start with a box with small segments, added a spherify modifier and converted it to editable poly. In this manner, I can easily maintain a good topology while modeling. I also cut my model into half so I'll be working the half part only. Symmetry modifier will do the other half for me.
Here is Totoro's wire frame.
And here in shaded form
3.1 Creating Totoro fur with VrayFur
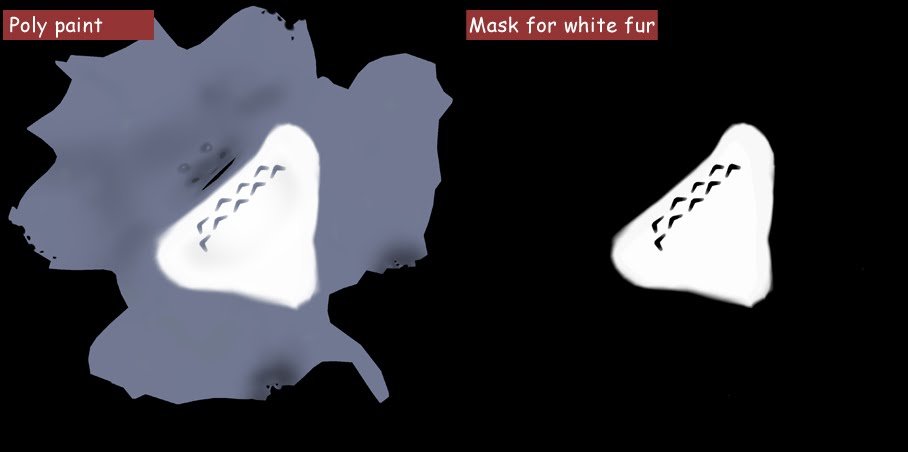
The final model of Totoro was exported to Zbrush from 3ds Max to produce poly paint texture. I use this texture in Photoshop to create a mask for white, grayish-blue fur and fur length.
Here's sample of VrayFur parameters for white fur. The white and grayish-blue fur are separate Vray objects.
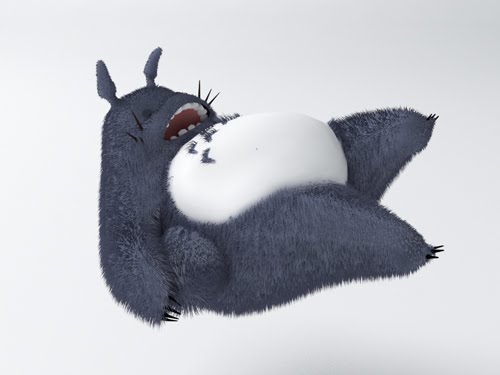
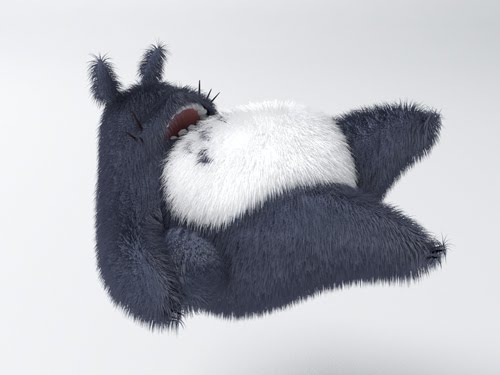
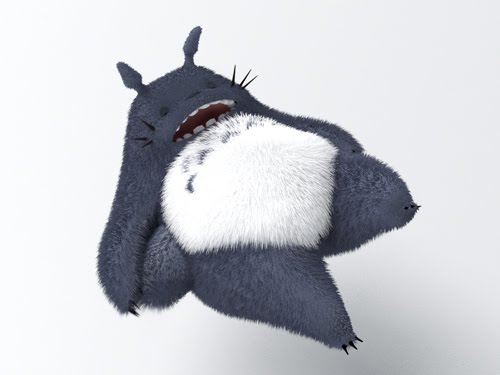
Here's the output where Density slot is loaded with Mask for white fur texture. The Length slot is also loaded with Mask for length texture.
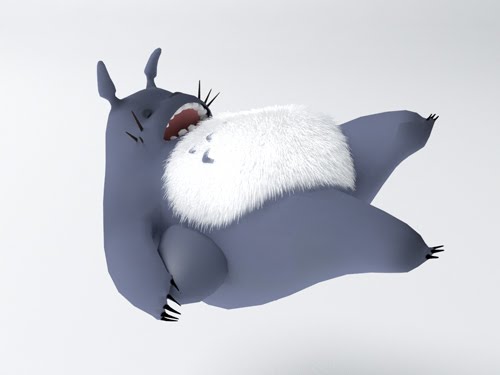
Here's the output where Density slot is loaded with Mask for gray fur texture. The Length slot is also loaded with Mask for length texture.
This is the output if Length slot is not used.
Here's the output where Length slot is loaded with Mask for fur length texture.
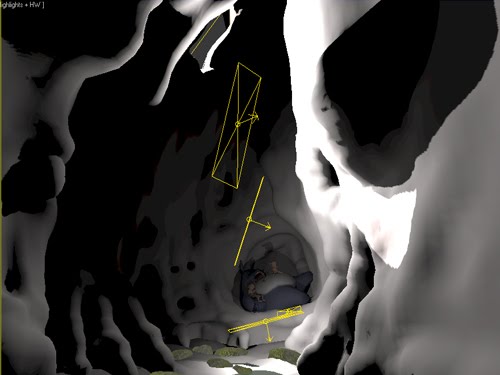
4. Lighting
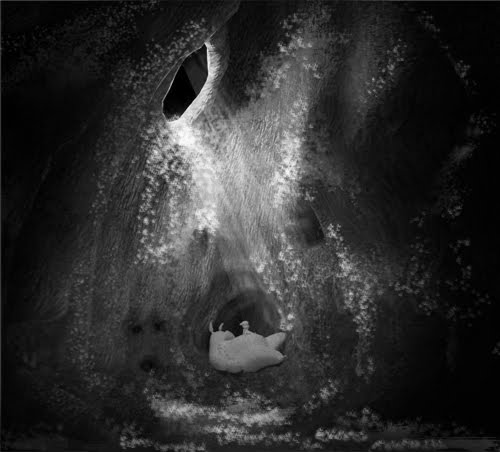
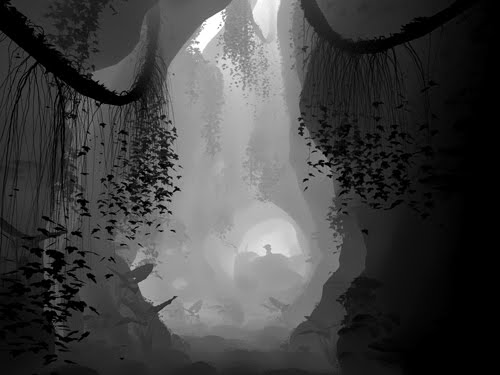
These are some of the images used as reference for atmosphere and lighting condition inside the cave:


